Quick Start Guide
Get your first secure digital product live and ready to sell in less than 2 minutes.
To start selling, you only need to do three things: have a product in Shopify, connect it to Imprint, and upload your files.
Imprint is designed to work out of the box. We have sensible defaults set up so you don't need to tweak complex settings just to get started.
Here is how to go live in 4 easy steps:
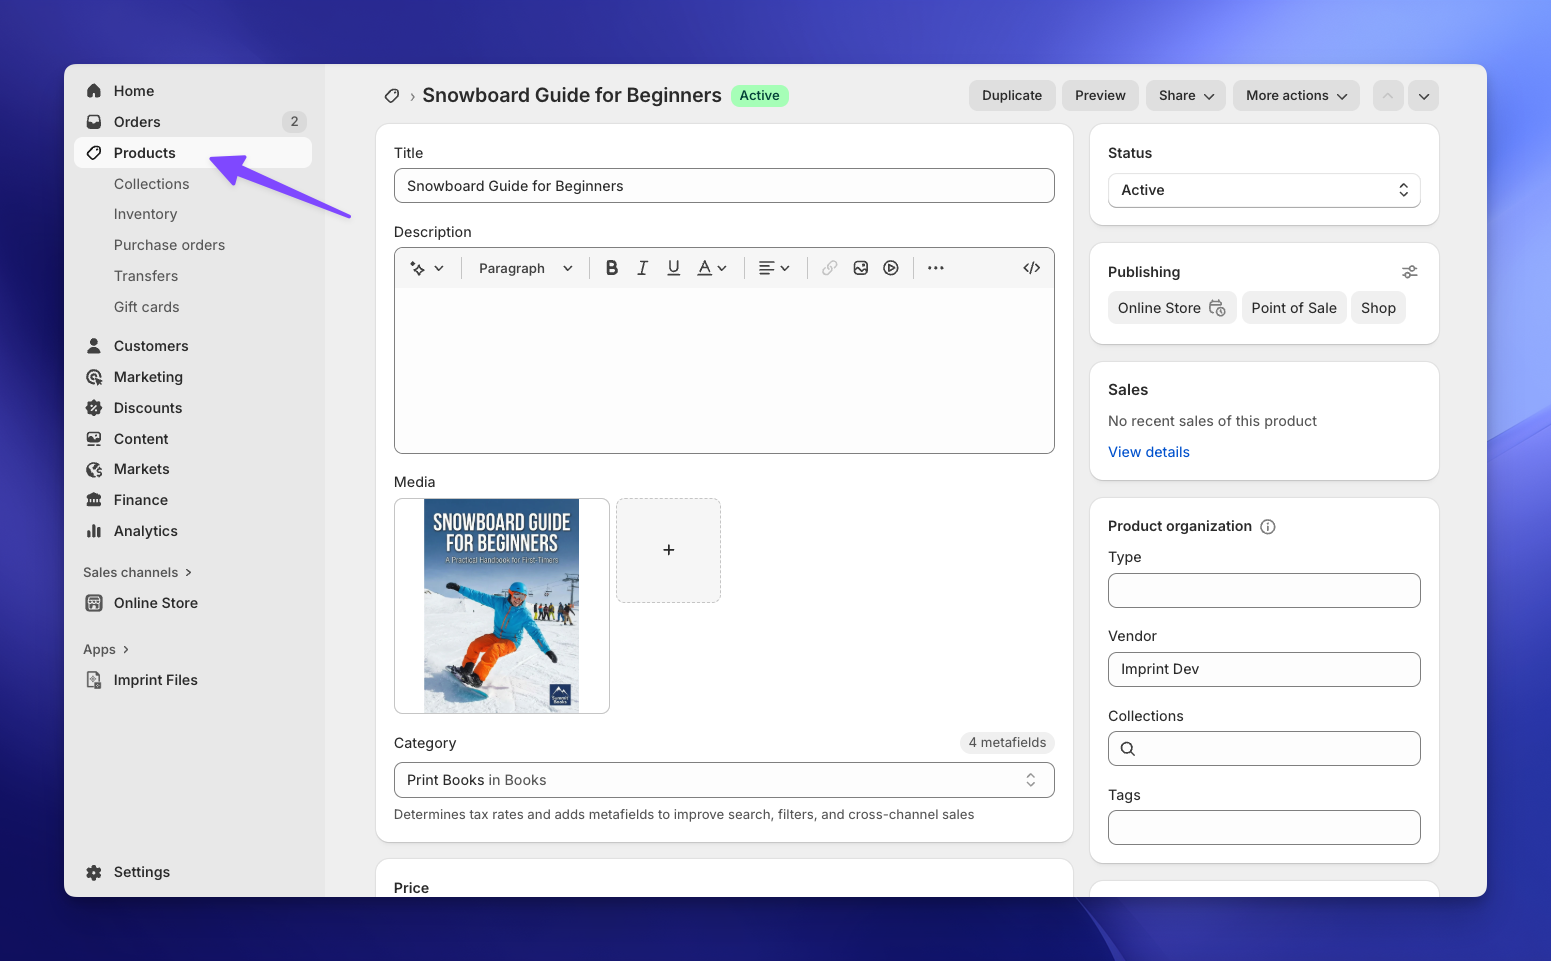
Create your Product in Shopify
First, you need a product to sell!
- Go to your Shopify Admin → Products.
- Create a new product or choose an existing one.
- Important: Make sure to uncheck "This is a physical product" if you don't want to deal with shipping settings.
If you already have products in your store, you can skip this step!
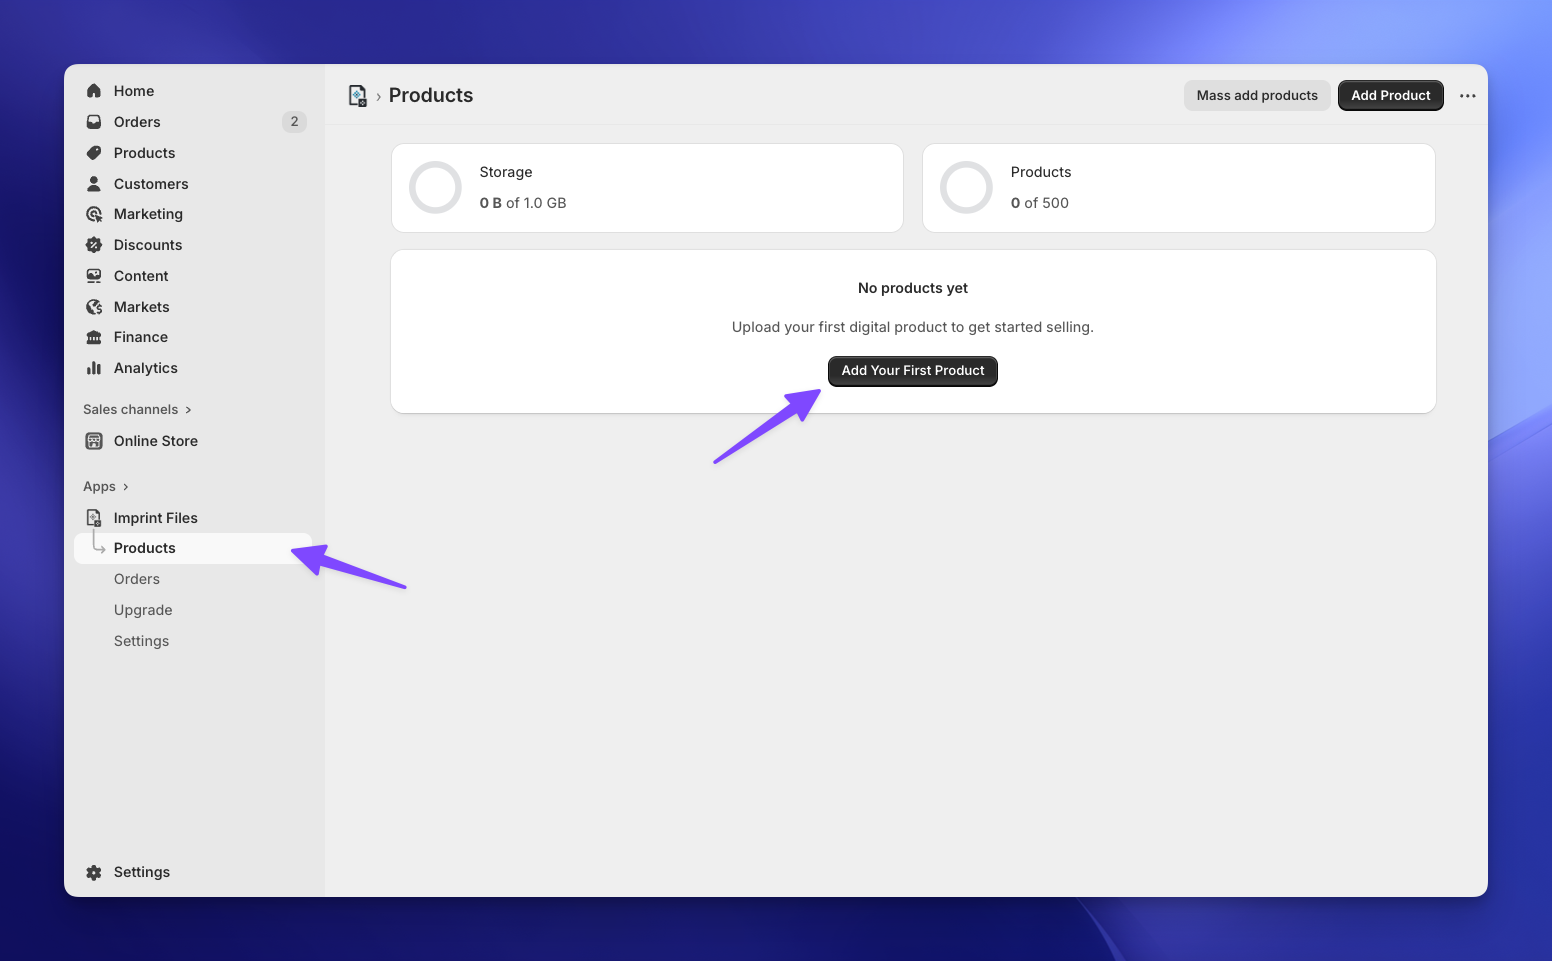
Import the Product to Imprint
Now, let's tell Imprint which product needs a file.
- Open the Imprint app and go to the Products page.
- Click the Add your first product button.
- Click Browse Products, select the Shopify product you just created, and hit Select.
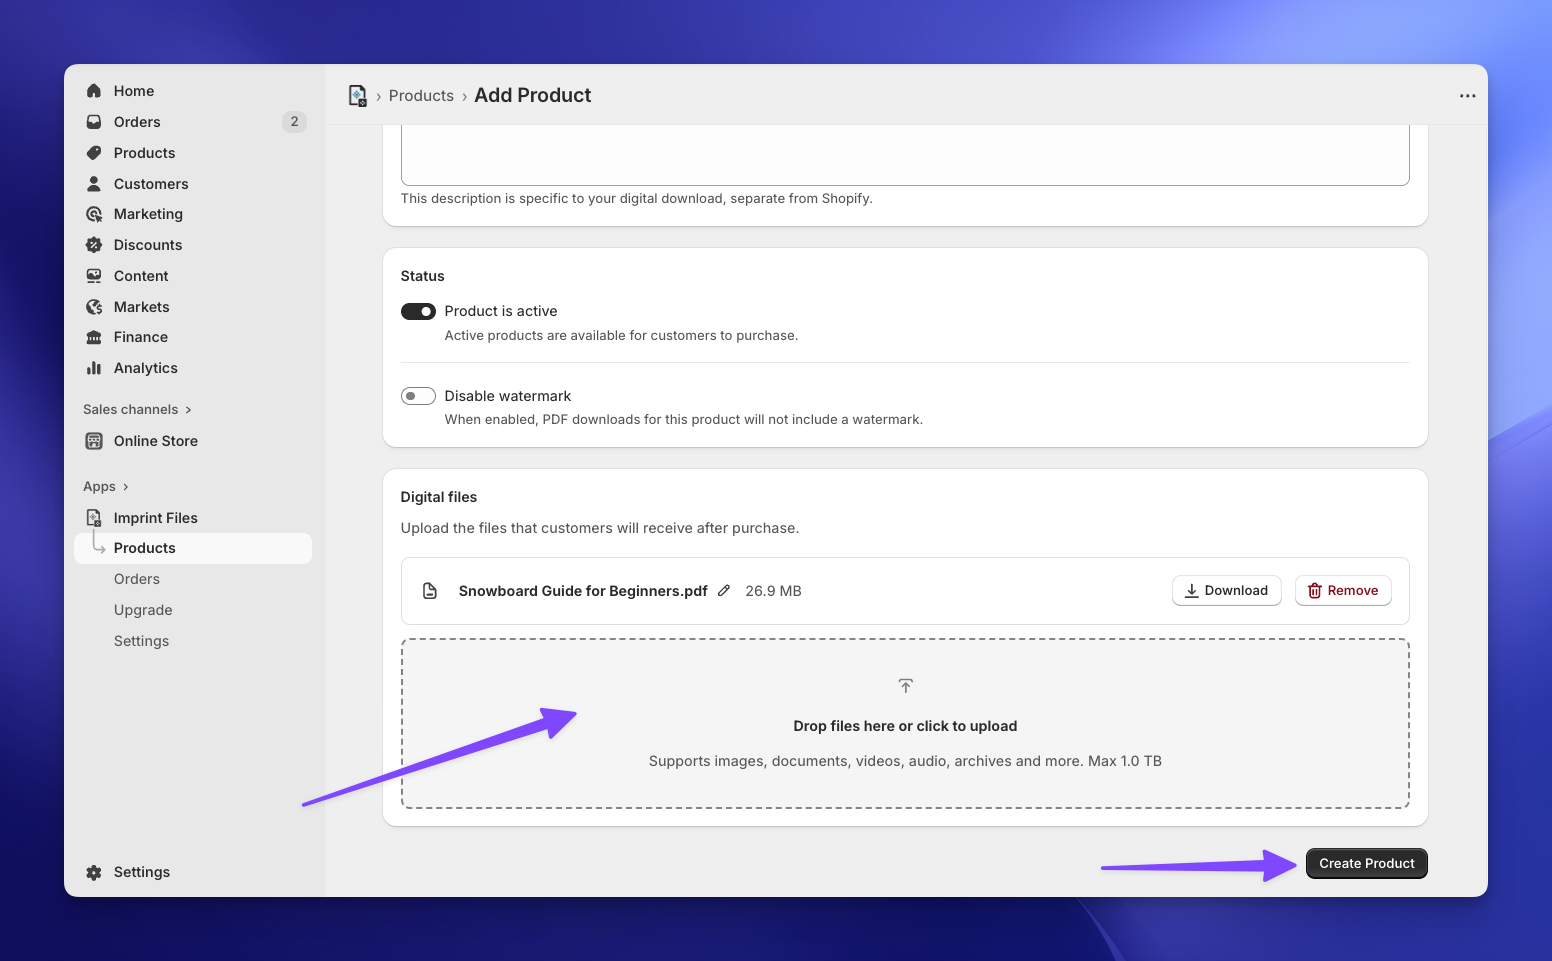
Upload Your Files
Now for the digital goods! 📦
- On the product page within Imprint, you'll see a file uploader area.
- Simply drag and drop your PDF (or any other file) into the box, or click to browse.
- Once uploaded, click Create Product.
You are Good to Go! 🎉
That's it! Your product is now live and protected.
From now on, whenever a customer buys this product, Imprint will automatically generate a secure unique link and email it to them instantly. You don't need to lift a finger.

Explore Further
Now that you have the basics down, here is how to take your store to the next level: